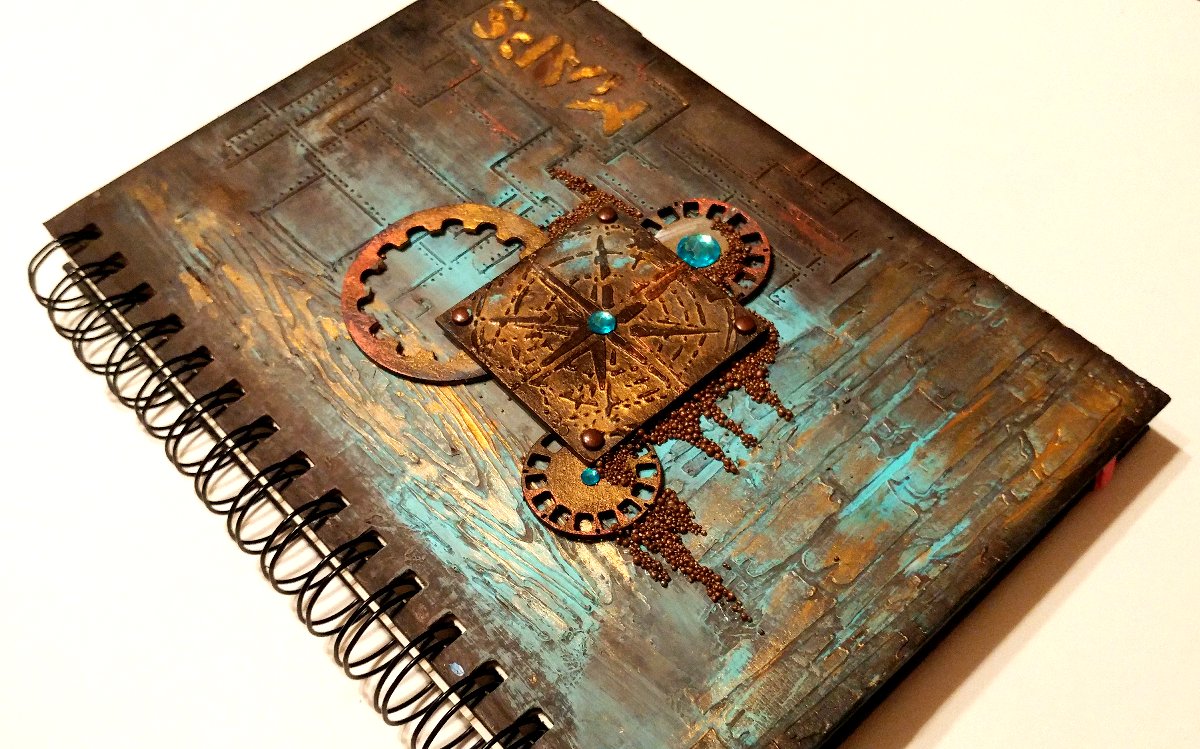
Hello Friends! I'm back with a fun new video tutorial (see below) on how to make the above decorative book box! This tutorial includes step by step instructions on how I made the glass and polymer clay centerpiece as well. Here is a close up look at the book and polymer clay clock piece....


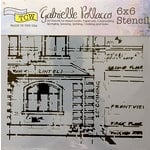
I hope you enjoyed my tutorial, here are some of the feature products I used in this video. Two Stencils I designed for The Crafters Workshop....

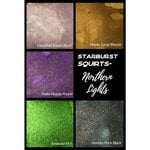
....and some really beautiful paints and mixed media powders by Lindys Stamp Gang!.....

I've gotta say I just love the shimmer and color in these beautiful Lindy's products. When the water hits those magicals and activates the powder, it's just shimmer and shine and deep rich color! Here are a few more closeups and angle pics of the project if you need reference points if you are trying out this project....


I had a blast making this project and hope you all give it a try and use aspects of the tutorial to make your own kind of Art! Thanks so much for stopping by my blog today! xo


Scrapbook.com
***For More Product links see description area under the Youtube Video, just click "See More"