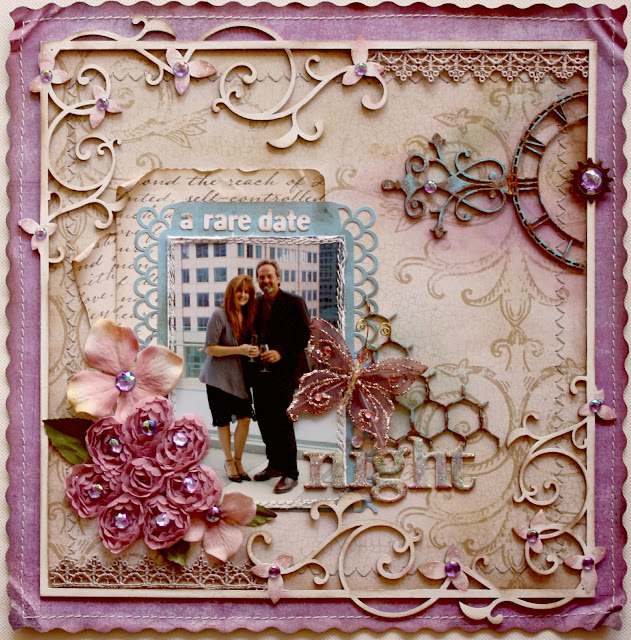
Here is my 3rd layout that I made for the Scrap That May Anniversary kit. As I mentioned in my post a couple of days ago, this kit had a really fun crafting item in it....some polymer clay. Since I've already shared a clay tile tutorial here at my blog, as well as an embellishment tutorial (see right side of blog) I thought I would do something a little bit different. I decided to use the piece of clay to make a bloom embellishment. (see below). The kit also came with a Special Edition Palette and Sketch from our favourite color site 'The Color Room!!" Here below is the palette as well as the sketch....and of course my l/o above was my take on this Palette & Sketch.
Here are a few close-ups of my page. I found the perfect quote for my page on Pinterest! Have I said how much I love that site....I'm sooo addicted! (you can check out my pins by clicking the Pinterest badge on the right side of this blog) The journaling on my page reads...
"If I could give you
one thing in life,
I would give you
the ability
to see yourself
through my eyes,
only then would you
realize how
special you are
to me."
And here is a little picture tutorial on the Gardenia bloom I made for this page from Polymer Clay...
Step 1: Soften clay by kneading it in the palm
of your hand for a few seconds. Make 3 small stamen's for the center of your
blooms.
Step: 2: Put the 3 stamen pieces together and
set aside.
Step 3: Divide the rest of your ball of clay into 6
pieces
Step 4: Take one of your clay balls and create
a triangular petal. The shape does not have to be perfect, a rough, uneven edge
is just fine (even preferred!). (Make 6 of these)
Step 5: Pinch the bottom of the triangle to
create a little pleat and lightly ruffle the top edge of the petal.
Step 6: Attach 3 of the six petals evenly around
the stamen you made. Then attach the other 3 behind the other three offsetting
them from the other petals.
Step 7: You will be left with a clump of extra
clay behind the bloom you made. Clip this off with a pair of scissors. (Note:
you can use the left over bit of clay to make 3 leaves for behind your bloom, or
you can use the leaves included in the kit for behind your flower)
Now You will bake your clay piece in a 270 degree Fahrenheit oven for 15 minutes. (I like to use a disposable foil tray to bake my Polymer clay since clay is toxic and should not be used on appliances you normally cook/bake with.
Step 8: When you pull your clay piece from the
oven it may still feel slightly flexible but it will harden as it cools. Now
you can paint your piece to your liking....or you can do as I did here and use
some Perfect Pearls or Pearlex (mica powder) to tint up your piece. Just take a
paint brush and start from the center of your bloom, dust the pearl powder
outwards so that it fades out. I used a pink color for the petals and a
yellow/inca gold for the stamens. I used regular green acrylic craft paint for
the leaves. (Give your piece a light spray of sealant to protect the
finish.....or you can do as I did and use a light spritz of hair spray to
protect the piece).
Now you can use your finished piece on your layout or home decor project.
Here is a close-up of the piece on my layout.
Hope you give this a try! Note: You can use any type of Polymer clay for this project, Sculpey, Fimo or even your craft store name brand, I've tried them all and they work equally well. For more idea's from the Scrap That design team and a place to share your own creations be sure to check out Scrap That's Polymer Clay Challenge this month! HERE ...Thanks for stopping by!!


