Showing posts with label Flowers. Show all posts

Wednesday, May 1, 2013

It's May! {And Websters Pages is All About Blooms!}

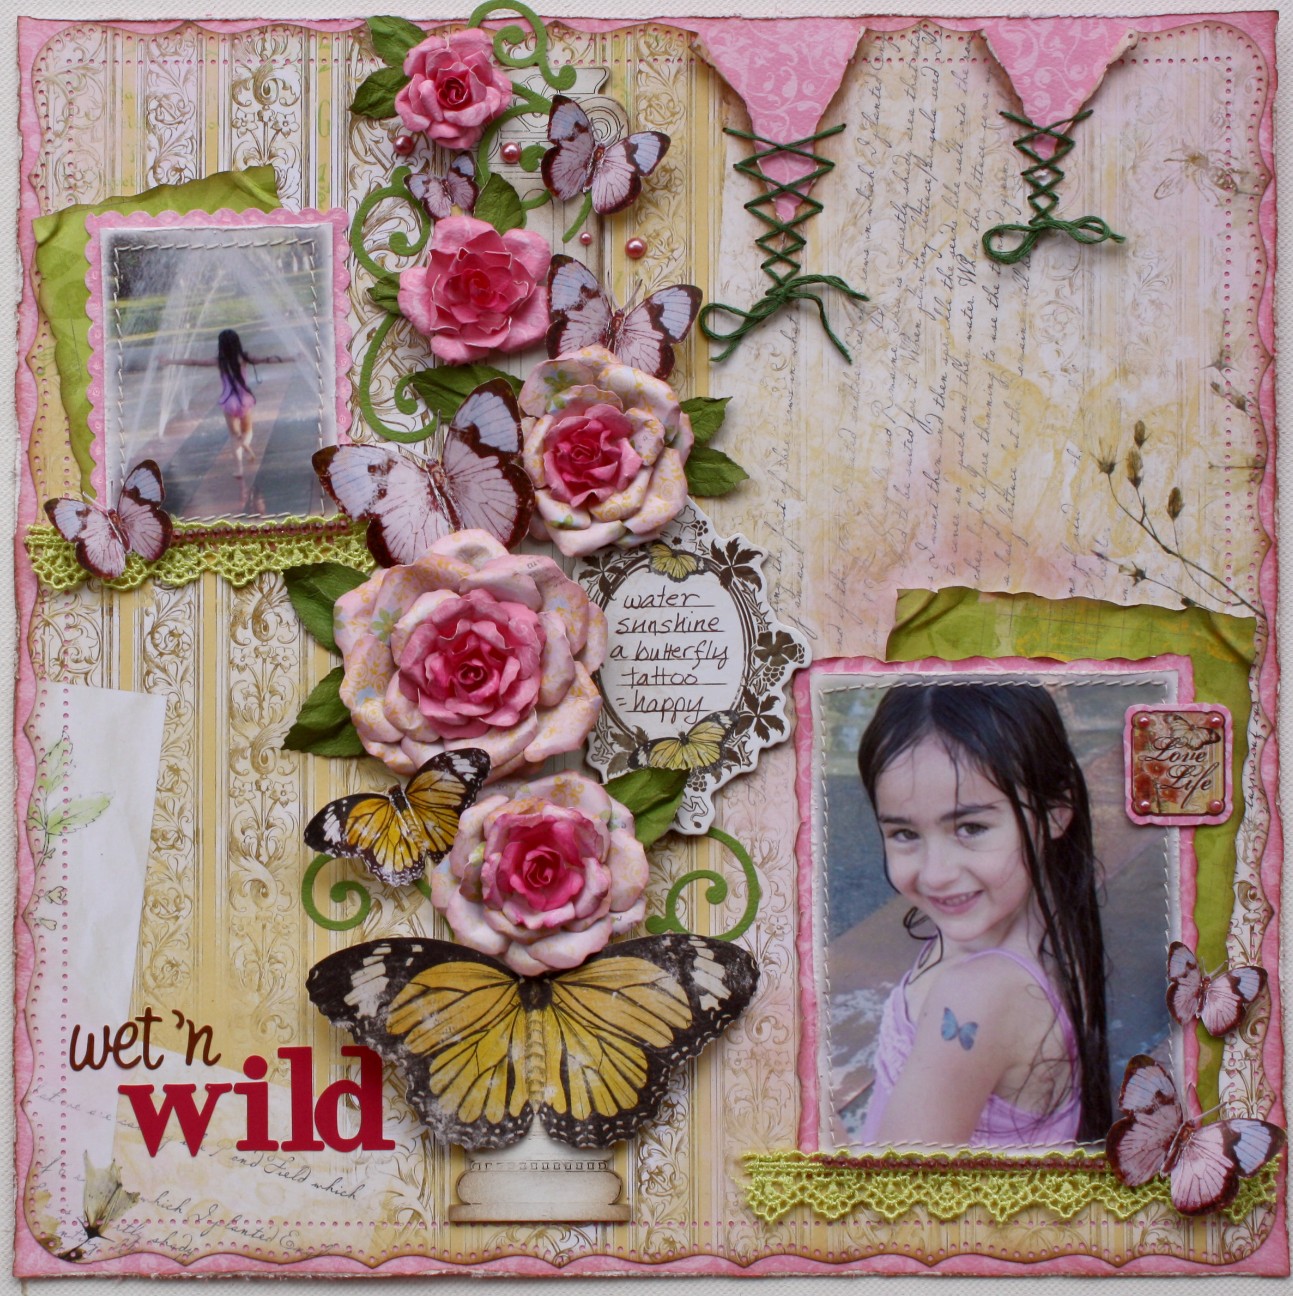
Yep, I've been complaining about how long it's taken to warm up this year but not anymore!!  We hit 20 degree's (Celsius) and that makes me happy!!  Today I wanted to scrap Spring! And whats more springlike that soft and pretty pastel little dresses!  I wanted to use lots of blooms on this page so I played with a bunch of my Webster's pages Modern Romance papers.  I began by fussy cutting lots of the beautiful floral images from the Modern Romance patterned papers.  Then I used my Spellbinders 'Rose Creations' die cuts to cut some layers of the patterned paper to make my handmade blossoms.  I used the 3 largest die cuts for the big blooms, and 3 medium for the mid size blooms.... 
I chose colors in the greys and pinks to go with the color of the dresses in the photo.  I then inked the edges of the papers with some grey chalk ink (I used Michaels store brand Studio G grey chalk in for this)  The center is a stamen bunch that I got at a local dollar store. 
To get the cupped effect on the blooms I gave the flower layers a light spritz of some water and then just pushed each petal with my thumb into the palm of my hand.  Then simply glue the layers together.  The chipboard I used on this page is of course Dusty Attic.  I used a portion of my favourite vine chippie, painted it white and used green chalk in to softly tint it. (the corner brackets are the smaller square frame from the Sweet Pea Frame Sets cut in half).
 
I made the lace edged circle design using the Martha Stewart 'Swirling Lace' corner punch....I shared a tutorial last year on how I made this lacy circle, if you would like to see how I made it you can find the tutorial HERE.
One of the questions I am often asked is how I make the little scallop edge I sometimes put around the outside of my photos.  Super easy to do.  Just matt your photo on some cardstock as you always do (glueing it down).  Now trim around the edge with a scallop edge scissor (very inexpensive scissor you can buy at your local craft store).  I then take a good white gel pen like Inksenntials or Signo Unibal and put a white dot in the center of each scallop. It only takes a minute to do but makes a big difference in your finished page :)
 
Hope you all have a nice scrappy day and that you scrap what inspires you! xo

Monday, October 1, 2012

I'm Guest Designer This Month for Once Upon a Sketch!!

 
I hope everyone had a nice weekend! We had a wonderful Fall weekend with the kids, we spent the day on Saturday at Wonderland (a local theme park) with our girls and a few of their friends....took lots of photos (so I've got lots of fun pic's to scrap! :)
 
Today I'm sharing with you all a layout I made as Guest Designer for Once Upon a Sketch!  For those of you who are not familiar with this amazing sketch site, just click on the name above to take you to the challenge.  I love this challenge site because not only does it provide you with a beautiful sketch to work with every month, but it also encourages you to journal on your pages, in this way making your pages more meaningful!  Below you will find the sketch as well as the quote you can use on your page which you can use pieces of or in it's entirety.

I read the above words and thought, I would have to scrap about my oldest daughter who just started high school this year.  I'm just so very proud of her, the year has just begun but already in two of her classes (Math & English), the teachers have taken her work and held them up to her class as examples of what the students should be working to achieve!  I know I'm bragging here but if you are going to brag, let it be about your kids right? :)    Anyway, I love that Chloe is such a positive person, and that her focus is almost always on the good things, she never lets negative talk get her down or get involved in a lot of 'girly' drama.  She has a good head on her shoulders and a really awesome group of friends.
 
For my layout I used a bunch of my favourite products.  Some of the newest Websters Pages papers and embellishments as well as my favourite chipboard, Dusty Attic (Skeleton Clock Faces, Mini Birdhouses, and Arch WIndow Set #1).  The soft appricot pink blooms were made from one of the  WP Parkdrive papers, using the Spellbinders 'Rose Creations' die cut.  I just cut a bunch of the smaller sized flower shapes using the die cuts on the 'Margaret' paper.  I inked the centers of the cut flower shapes with a bit of Victorian Velvet Tim Holtz Distress Ink.  I then lightly crinkled the petals to give them an embossed look (lightly spritzing the petals with water helps shape them).  I glue 2 layers of the petals together and added a small white rose bud to the centers.  Here are some close-up pics....
A really sweet blogger (Beverly) asked on my last layout about that butterfly (above) that I like to use on many of my layouts.  It is actually a butterfly that I had scanned from a Webster's Pages patterned paper that I just loved!  I made up a contact sheet with the butterfly in a whole bunch of different sizes that I could cut out to use on my layouts.  I especially like to use these butterflies on my Webster's Pages design team layouts, they just seem to go well with so many of Brandin's beautiful designs!  Here is a picture of my contact sheet, if you like you can right click on the picture and 'save it to your computer', then just print it out on a 8.5 x 11 inch piece of smooth white cardstock and use it to make your own butterfly embellishments :)
(right click on photo and save to your computer to print off and create your own butterfly embellies) 
Above is a close-up of the Websters Pages and Dusty Attic embellishments I used for this page....as well as the journaling I used from the Once Upon a Sketch journaling prompt (handwritten around the clock design) 
Supplies use for this page:
Patterned Paper:  Parkdrive and Royal Christmas Websters Pages collections
Cameo: Websters Pages Perfect Accents (from In Love Collection)
Stamps: Websters Pages Diamond Tag Stamp, Bo Bunny Midnight Frost and Et Cetera Stamps, Prima You-Frame-it Stamp.
Flowers:  Med. pink blooms are handmade using WP paper and Spellbinders Rose Creations die cuts, Large and tiny pink blooms are Prima as is the pearl flourish.
Other: Burlap, kitchen twine, bulk lace and pearl strands.
 
If you'd like to try out Nadia's beautiful sketch and quote and play along this month (and have a chance at the AMAZING prizes they offer, be sure to stop by her challenge site and link your work to the blog!)  Happy Scrapping! xo 

Thursday, February 23, 2012

Handmade blooms & Bo Bunny's Country Garden

Have I said how much I love Bo Bunny's Country Garden Collection?  Heehee, enough said :)   ....Today's DT assignment was 'Flowers & Flourishes'  So I thought I would fill the page with blooms.  I made the blooms from patterned paper from the Country Garden collection and some Bo Bunny flourish cardstock (Passion Fruit color).  I used the Spellbinders Rose Creations die cuts to cut the flower petals.  The method I used is the tutorial I shared HERE.  Here are some close-ups of this page.... 

The small leaves were punched with the Martha Stewart leaf punch, the flourishes are from Quickutz (I used my Revolution die cutting machine to cut all the pieces).  The Bo Bunny Country Garden collection should be coming out soon....take my word for it, you'll love this one!  Thanks for stopping in and for all your kind comments, I love to hear from you all (I will try and catch up with everyones blogs soon.....I've just been going through a bit of a medical issue at the moment, found out yesterday I'm severely aneamic, explains why I've been so exhausted of late! But now that I know, I can get to fixing it!!  Catch up with you all soon! xx) 

LinkWithin

Related Posts with Thumbnails