Thursday, November 10, 2011

Dusty Attic and The Color Room Collaberation! Win some DA!!

Talk about a match made in heaven!  Dusty Attic is sponsoring The Color Room for this month....so if you are a fan of Dusty Attic laser cut chippies you've got to come and play along in the color palettes this month for a chance to win some beautiful Dusty Attic goodies!!
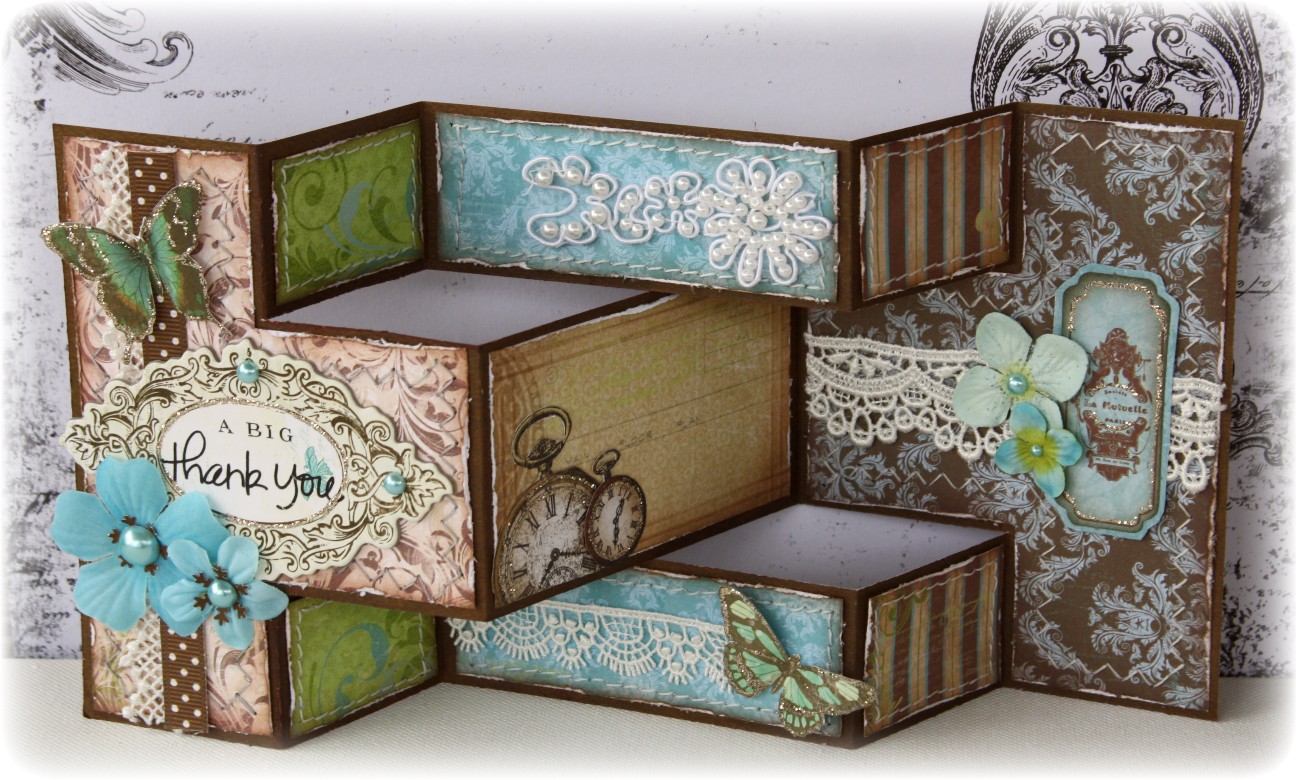
I made the above page using the lovely 'white-washed' palette #84, lots of warm neutrals and white!. I used 3 different styles of DA chippies to make up this page, The Floral Frame Set DA0576, Brick Wall Panel DA0316 and Scroll Border #2 DA0564.  I used a white gel pen to add a little detailing to the Floral frame piece.  The papers I used are from the Bo Bunny Et Cetera Collection.  The blooms are done with the Water Distress Method  Here are some close-ups...

Here is the inspiration palette for The Color Room #84

Would you like to play along and win some Dusty Attic goodness?  Play along with this color palette and upload your project to the Color Room Gallery before next weeks color palette is up (Friday 18th) and you can have a chance to win!  And remember, the Color Room DT is always checking out the gallery to pick your beautiful projects to feature in our newsletter and on the website!  Your project may be the next one featured!

And now for an exciting sneaky peek at the newest designs Dusty Attic is bringing out!!  I was just blown away when I saw all the new goodies....here is a little peek at just a few of them!   Ohhh! Cameo sliders!!  How cool are these to mount your Websters Pages Cameo's on! and they have those cute little slots for sliding them onto ribbon!! LOVE!


....And for those of you who love Steampunk! how cool are these!!!...


I get asked often on where to find Dusty Attic.  I try to keep a list in the side of my blog (right side) on Dusty Attic Retailers.  I've heard many of them have just recently restocked their stores and many also will do pre-orders for you too! Check it out! ....and don't forget to join in the fun at The Color Room!

Tuesday, November 8, 2011

Bo Bunny Card Challenge & Sketch!

It was my turn to do a card challenge this month for the Bo Bunny Design Team.  So I came up with a sketch and decided to make the challenge that there has to be a handmade bloom on the card made from any Bo Bunny product whether it be pattern paper, trinkets, trims or jewels.  Here is the sketch I made up for this card....

I used the new Enchanted collection to make this card along with some Bo Bunny dot cardstock.  I used the Water Distress method <~~ Click this link or you can find the tutorial in the right column of my blog.  Here are some close up pics...

Supplies used for this card:
Patterned Paper: Enchanted 6x6 Paper Pad (Papers used from the paper pad are: Enchanted Love (both sides)
Cardstock: Bo Bunny Dot Cardstock; Raspberry Dot, Mulberry Dot, Kiwi Dot
Enchanted Jewels, Enchanted Buttons, Enchanted Noteworthy,
Enchanted Combo Stickers

Come join in the challenge over at the Bo Bunny blog!  You have until November 21st to play along!  At the same time you can check out what a couple of our other talented design team members, Tomoko and Mireille have created with this sketch!  BO BUNNY BLOG 

Wednesday, November 2, 2011

I'm Guest Designer for Funtoola's Kit Club!!

I was asked to be the Guest Designer this month over at Funtoola's Kit Club.  I was so thrilled to recieve this beautiful kit to work with!   Gorgeous Prima papers, premium blooms and embellishments and even an intricate Prima stamp and Dusty Attic Chipboard products in the kit!  You will LOVE this kit!  

I used this photo I had of Meagan playing in the sand at the beach when she was about 2 years old.  It made me think of Winnie the Pooh and his honey pot.  I used a quote from from a Winnie the Pooh book that struck me as very sweet .....

"Well, said Pooh, what I like best,
and then he had to stop and think.
Because although eating honey was a 
very good thing to do,
there was a moment before you begin to eat it
which was better than when you were,
but he didn't know what it was called."
~ A.A. Milne

I cut the bookpage design from the patterned paper and layered an extra piece of paper and cardstock to create this little 'book' embellishment....
There are so many beautiful blooms in this kit, among them are the hydrangia blooms and some lovely adhesive pearl accents, pretty ribbons and lace too!...
I divided up the Dusty Attic Vine and used part on this page and part on another.  For this one I painted the vine Ivy green, accented with some brown ink and outlined with some pretty green glitter glue included in the kit....

Another page I made with this kit, I went with the rich burgundy papers and embellishments.  I took this picture of Chloe and her best friend Peyton with Zoe when she was just 2 months old.  These two girls have been best of friends since they were 3 years old.
All the embellishments you see on the page are all from this kit....Prima Crystal flourishes, lace, pearls, Velvety blooms & buttons and of course the lovely Dusty Attic Vine.  Here are some close-up pic's of the page....


....And finally I made one more page from this beautiful kit.  I cut one of the papers with a bracket frame template. 
 TIP:  I save unusually shaped die cut papers and trace them onto a plain piece of paper (I like to use the plain white 12x12 papers that come in the sleeves of my page protectors in my albums.)
All of the embellishments on this page are all from the kit including the pretty key, the ribbons and lace, the diamond and pearl bloom and the Prima Gate stamp.  Here are a few close-up photos of the above page...


Take it from me, this kit is a beauty and a lot of fun to work with and an incredible deal!  Check out Funtoola's website for more information on this kit.  Join in the fun, in the galleries and forums.  Cindy Johnson, the lovely owner of Funtoola's will make you feel warm and welcome!
 

Tuesday, November 1, 2011

Bo Bunny & Scor Buddy!!


I have been wanting to try out this tri-fold shutter card for a very long time and finally got a chance to do it mainly because I got this amazing Scor Buddy sent to me!  I have a scoring tool on my cutter but for some reason it always comes out crooked (I think my cutter is not exactly square).  So I was thrilled to have this amazing tool to use!  I used the ScorBuddy two ways, to create scor lines for my card folds and to create an embossed edge for my journaling piece.  Below is the template I used to make up this card....


These are the basic Instructions:
1. Cut a 12" x 5 '1/2 " piece of Cardstock. (I used Bo Bunny's Shitake Dot paper)
2. You will create score lines at the 2", 4", 8" and 10" marks  (some will be 'valley' scores and some will be 'peaks'....see diagram above to differntiate which go where.
3.  You will cut measure 1 1/2" up (and down) from the 2 and 20 inch marks and cut 2 slits between these markings (I cut these slits first so that I knew when to stop and start my valley and peak scores).
4.  Your card is not ready to shape into the folded design (see above photo to see if you have your folds correct).
5.  Choose your patterned papers that you want to use for this card and then use the card as your template, you will need to cut patterned paper:

2 pieces of the T shapes (trim 1/16" off each edge)
4 x 1 3/8" x 1 3/8"
2 x 1 7/8" x 3 7/8"
1 x 2 3/8" x 3 7/8"

I used the Scor Buddy on the middle (2 3/8" x 3 7/8") piece to make a nice embossed edge for my journaling piece.  I flipped the piece over and used the two scores closest to the left edge to scor my border...
When you flip the piece over you end up with a nice bumped up border for your journaling piece, here is a close-up of the finished section, I added some clock cut-outs from the BB Timepiece 6x6 patterned paper pad to decorate this piece with...

Now just decorate to your hearts content!  Bo Bunny has so many beautiful embellishing products to coordinate with each of their collections,...Rub-ons, stickers, chipboard, Jewels, flowers, ribbons and Noteworthy die cut shapes!  Here is one more view of the card opened...
Supplies used:
Patterned Paper: Welcome Home ~ Porch Swing, Welcome Home, Front Door,


Cardstock: Bo Bunny Shitake Dot
6"x6" Paper Pad: Welcome Home, Timepiece
Chipboard: Gabrielle
Butterflies, dot ribbon: Gabrielle card kit
Noteworthy: Welcome Home
Jewels: Welcome Home
flowers: Bo Bunny Serenade collection

Be sure to stop by the Bo Bunny site this week to check out all the projects being made with BoBunny products and Scor Buddy!  I've seen a number of them already and they are amazing!  Bo Bunny and Scor Pal are having a Blog hop all week long so come and join the fun!


Saturday, October 29, 2011

Websters Pages DT page & Glue Arts!!

Websters Pages was doing a match-up with Glue Arts this week so our design team was delighted to recieve some Glue Art products to use on our projects!   I basically used a little bit of each of the products sent to me to create the above page that I made with Websters Pages 'Western Romance' Collection.  Here are the some of the ways I used these awesome Glue Arts products...
I used the GA Pro Glider to attach all my patterned papers to each other. 
The Glue Arts 1/2 " Adhesive squares ROCK! for adding embellishments like blooms and cameos! 
They have wonderful glue strips to attach your ribbons and lace! 
And their Adhesive foam pieces work grea for adding dimension to a project! 
Which is my favourite?  I love love love the 1/2" adhesive squares for adding embellishments!  Those things really STICK!!   Here is a list of supplies I used to make the above page:
From the Western Romance Collection: Fabric Tickets, Fabric Ribbon, Alphabet Stickers,
Websters Pages whimsies (heart & rose), Silhouettes (Cameo), Princess Petals, Sparklers.
Chipboard corner flourish:  Dusty Attic
Lace trim & Pearl Strands from local fabric store
Adhesives: Glue Arts

Here are a couple more close-ups of my page (TIP:  I used a decorative edge scissor to make the edge for the second layer of patterned paper)....


For lots of wonderful ideas in using Glue Arts products you can check out their blog site HERE!  And if you'd like to see more projects done by the Websters Pages design team using GA & Websters Pages products, come have a peek at the Websters Pages blog, you'll be happy you checked it out!

Tuesday, October 25, 2011

Paper Flower Tutorial ~ Websters Pages & Glue Arts!

I thought I would share a tutorial for a flower I've used on my layouts over this past year.  I've shared some information on how to make water distressed blooms but I've gotten emails over this past year saying that some of you don't have the flowers turn out the same as mine. So I thought it would be best to actually show you each step in a video.  I also thought I would share a little tip with you all on an awesome adhesive I've found that works really well for adhering flowers and embellishments to your projects.  Glue Arts 1/2" adhesive squares...super strong!
I used the Websters Pages Western Romance collection to make up the above page.  I love that buttery yellow colour in the paper and bloomers!  Here are some close-up pic's of the layout and the blooms I'm going to show you how to make....


Just click on the video clip below and watch how quickly and easily these blooms come together...
I hope this video will help you all in tweaking those blooms to get them to look the way you want them to! ....This week the Websters Pages design team and the Glue Arts design team have teamed up together to present some exciting and beautiful projects.  So be sure to check out the Websters Pages Blog and the Glue Arts Blog throughout the week to be inspired!  Thanks for stopping by, ...and let me know how your blooms come out!


LinkWithin

Related Posts with Thumbnails